Blog
London Commercial Photographer
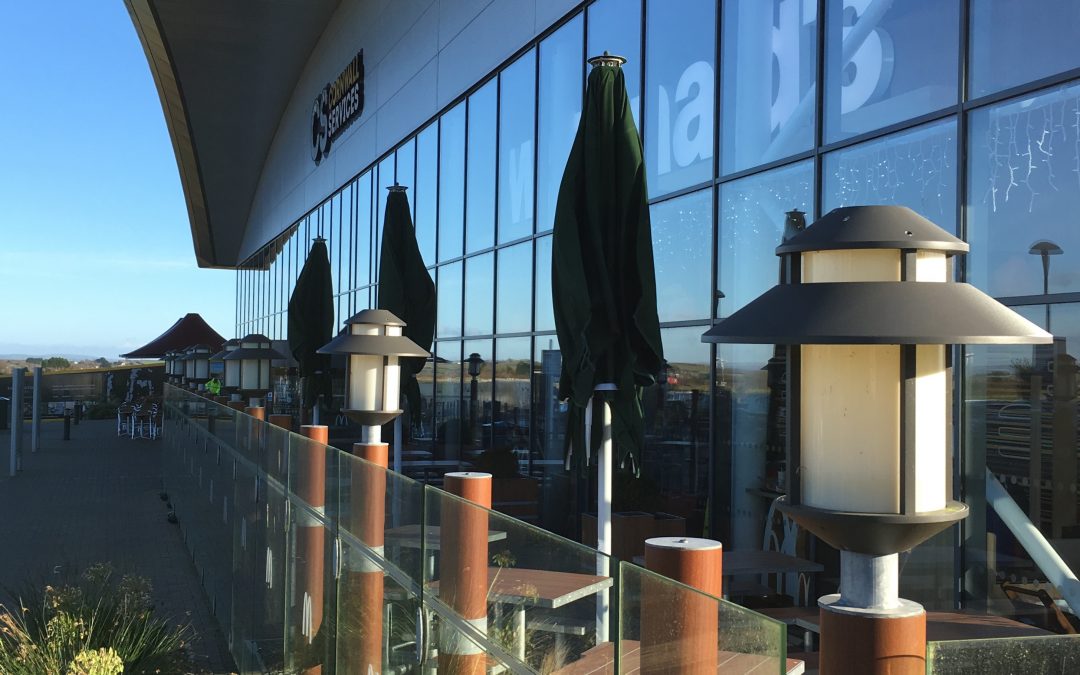
Architectural Photography of Cornwall Services, Bude, Cornwall
Cornwall Services glazed façade, Bodmin, Cornwall | Architectural Photographer 01 December, 2017 Leisure Interiors Lifestyle Cornwall Services, Bodmin creates a welcome architectural landmark | Architectural Photographer London The new Cornwall Services on the A30...
read more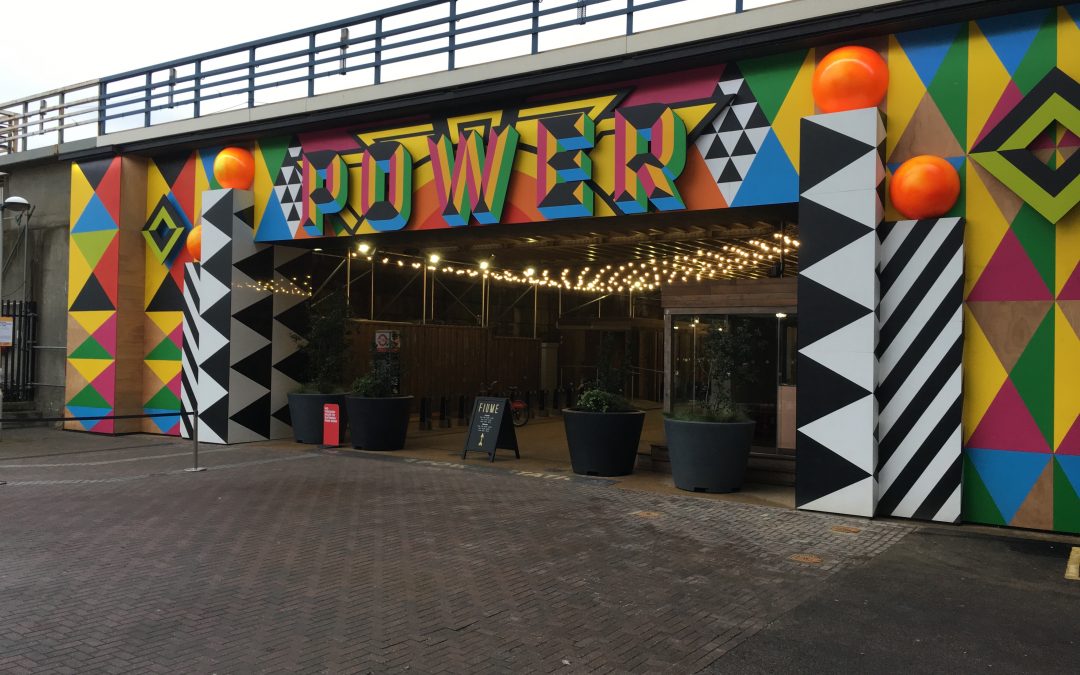
Interior Photography of Circus West Village, Battersea Power Station Development, London
Circus West Village entrance, Battersea Power Station, London | Architectural Photographer London 23 November, 2017 Residential Interiors Lifestyle Circus West Village, Battersea Power Station, London becomes premier residential development | Commercial Photographer...
read more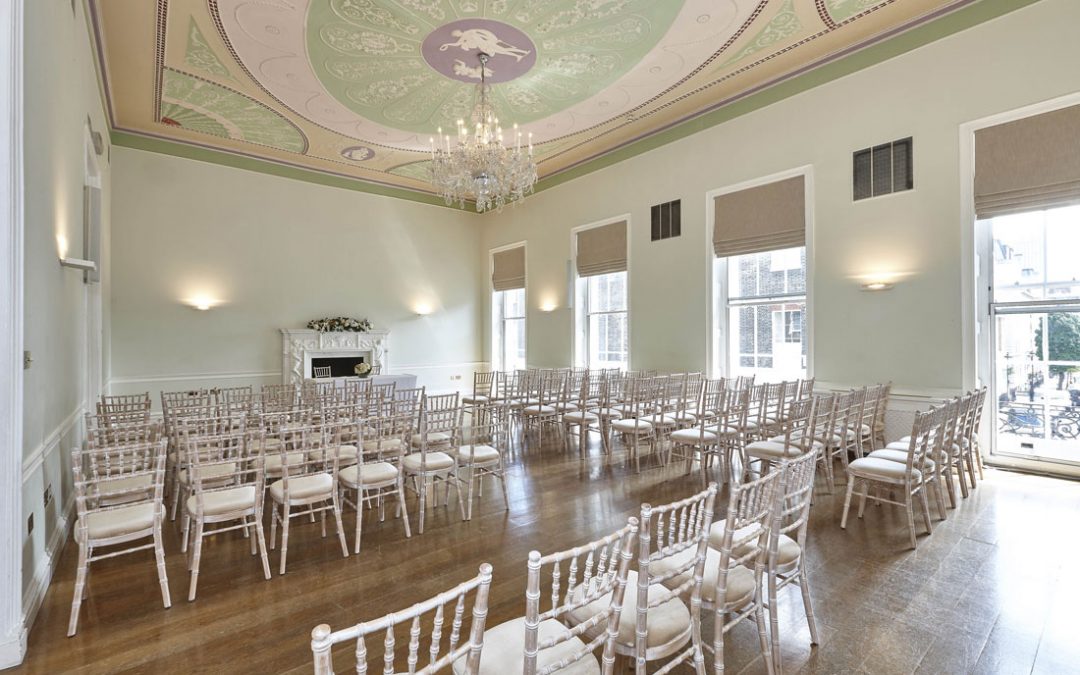
Interior Photography of Asia House, Marylebone, London, W1
Interiors Photography London Asia House Library 21 July, 2017 Commercial Interiors VenueAsia House illustrates flexible meeting rooms Asia House provides a unique political and economic linkage between Asia and the UK and has been housed in the 18th century, listed...
read more
Interior Photography of 10 West, New Psychology Faculty Building, Bath University
Commercial Buildings Photographer London Interior Photography of 10 West, Psychology Faculty, Bath University 19 June, 2017 Education Interiors CommercialBath University New 10 West Psychology Building Atrium 10 West is the new £30M University of Bath Psychology...
read more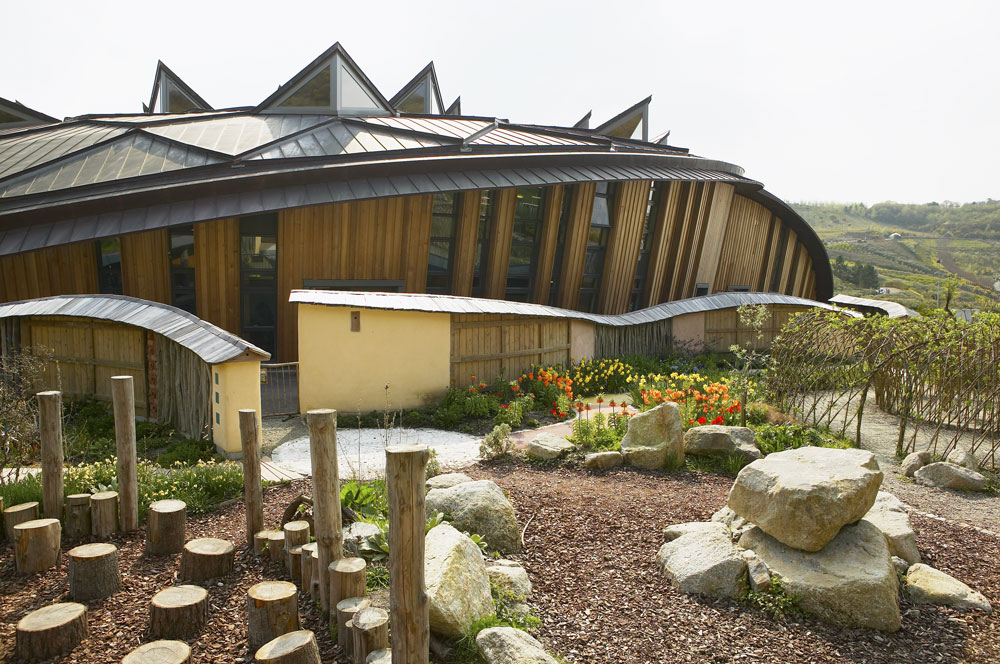
Architectural Photography of The Core, Eden Project, Cornwall
Architectural Interiors Photographer Architectural Photography of The Core, Eden Project, Cornwall 11 June, 2017 Leisure Architecture LifestyleThe Core, Eden Project, St Austell | Architectural Interiors Photographer The Core is the visitor and teaching centre...
read more
Interior Photography of Oulton Hall Hotel, Leeds
Interior Photography of Oulton Hall Hotel, Leeds | Hotel Photographers UK 03 May, 2017 Leisure Interiors LifestyleFive star luxury at Oulton Hall Hotel, Leeds | Hotel Photographers UK Oulton Hall was built as a farmhouse in 1750. The house and estate were enlarged and...
read more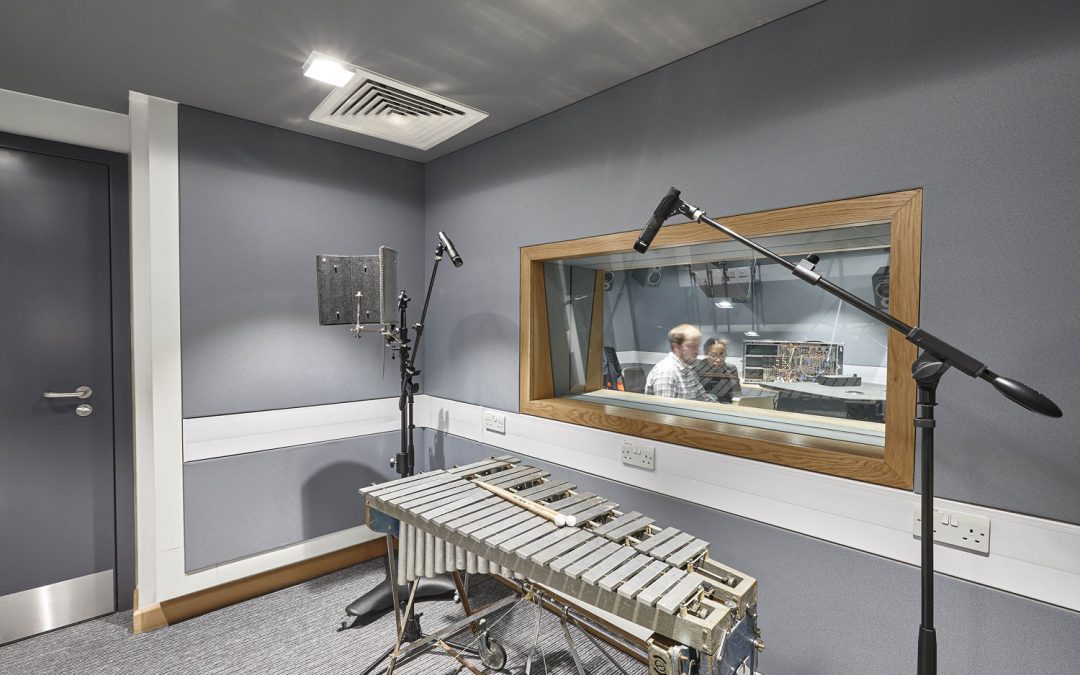
Elephant Studios, London South Bank University (LSBU)
Elephant Studios, London South Bank University (LSBU) | Interior Photographers London | Commercial Building Photographer London 03 April, 2017 Commercial Architecture InteriorsMichael Grade opens LSBU Elephant Studios | Interior Photographers London The new Elephant...
read more
MAKO Derivatives, Broadgate Quarter, London
MAKO Derivatives, Broadgate Quarter, London | Architectural Interior Photographer 18 March, 2017 Commercial Architecture InteriorsMako Derivatives create aspirational offices Mako Derivatives occupy key spaces within the Broadgate Quarter development, Appold Street,...
read moreGet In Touch
Please leave your name and email below along with what you are looking for in the message box. Or you can call us on 0118 989 3749 and 07910 168536
Follow