Portfolios
Adam Coupe specialises in architectural, interior and construction photography. Call us today on 07910 168536
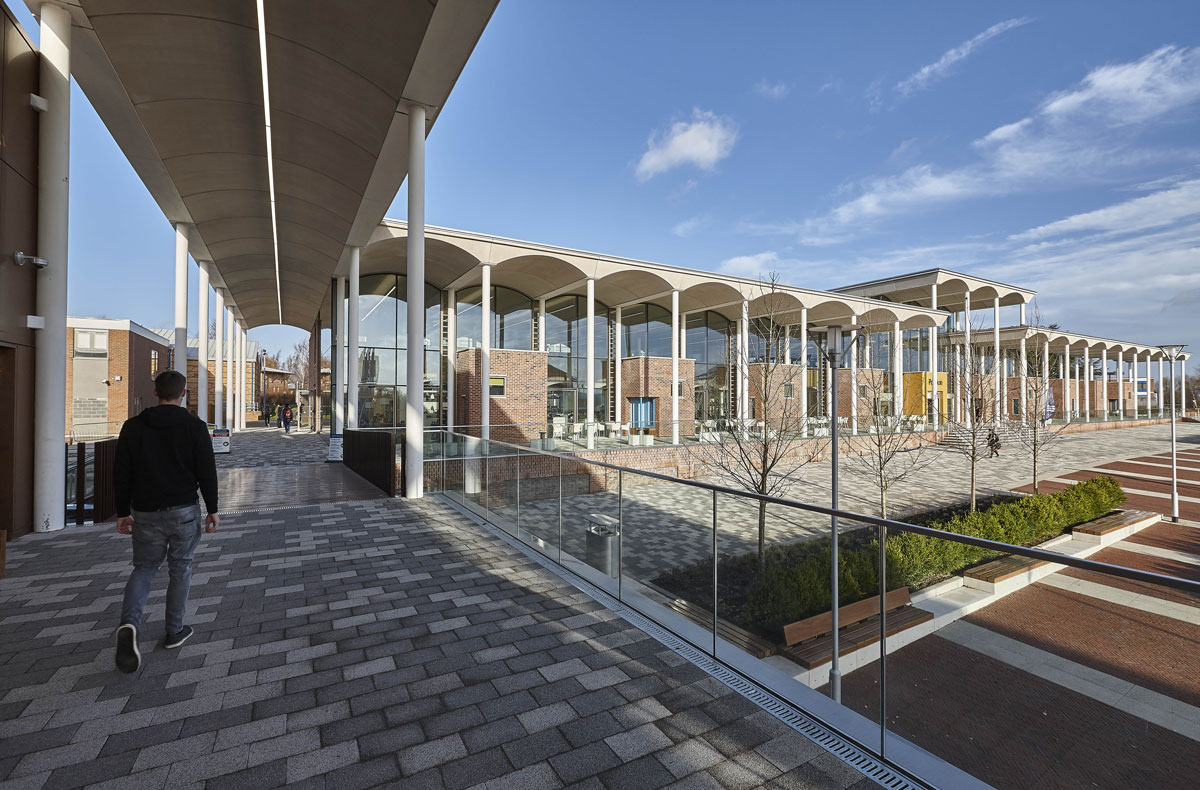
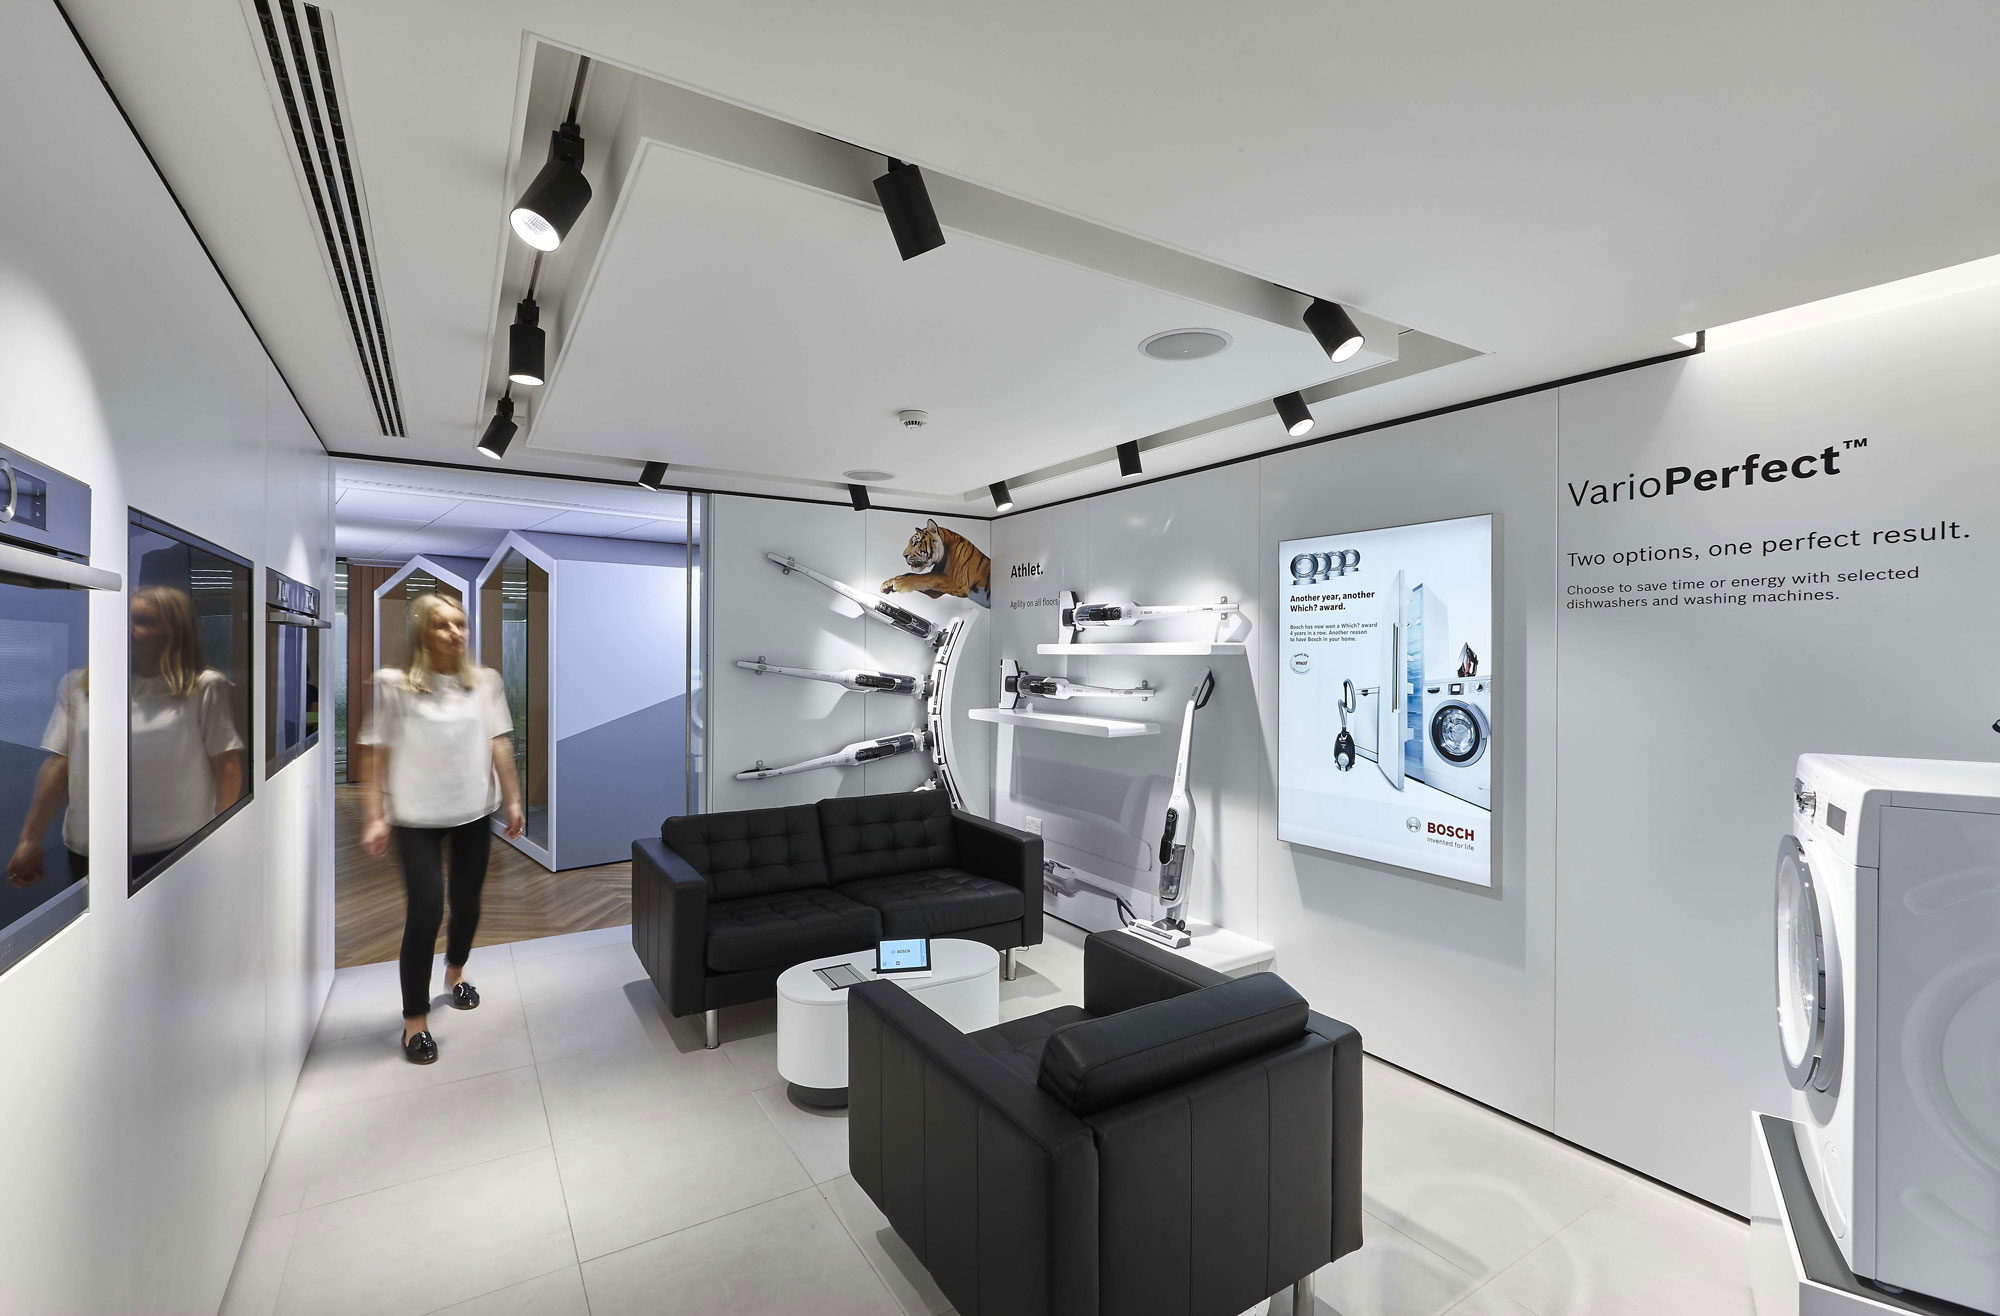
Architectural Photography
See examples of architectural photography shoots by clicking here
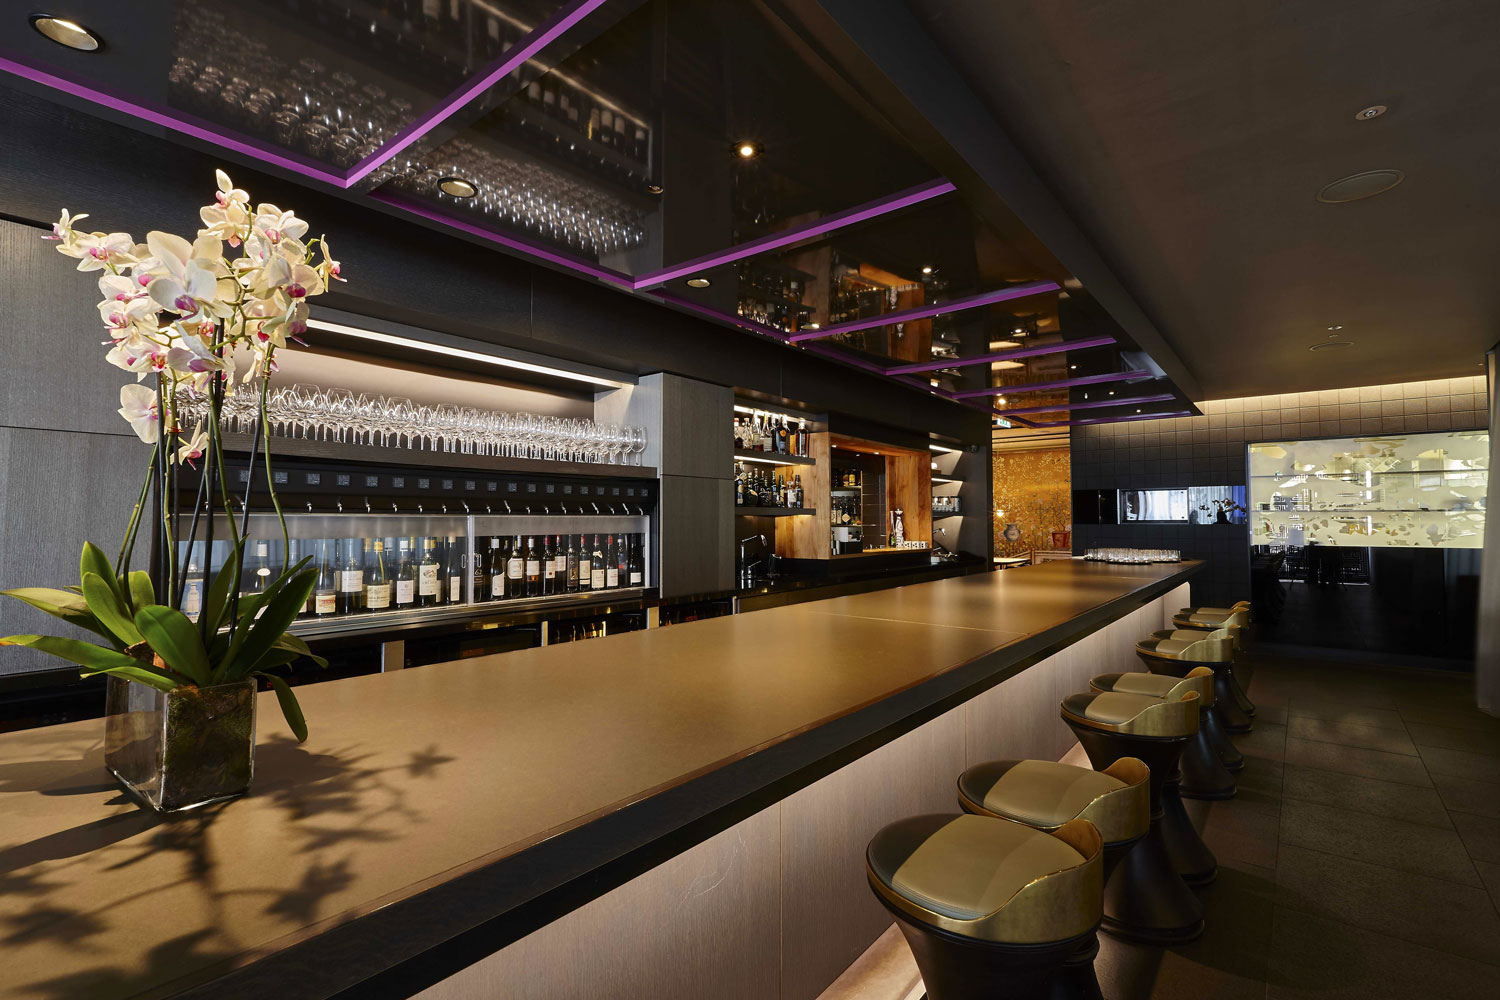
Interior Photography
See examples of interior photography shoots by clicking here
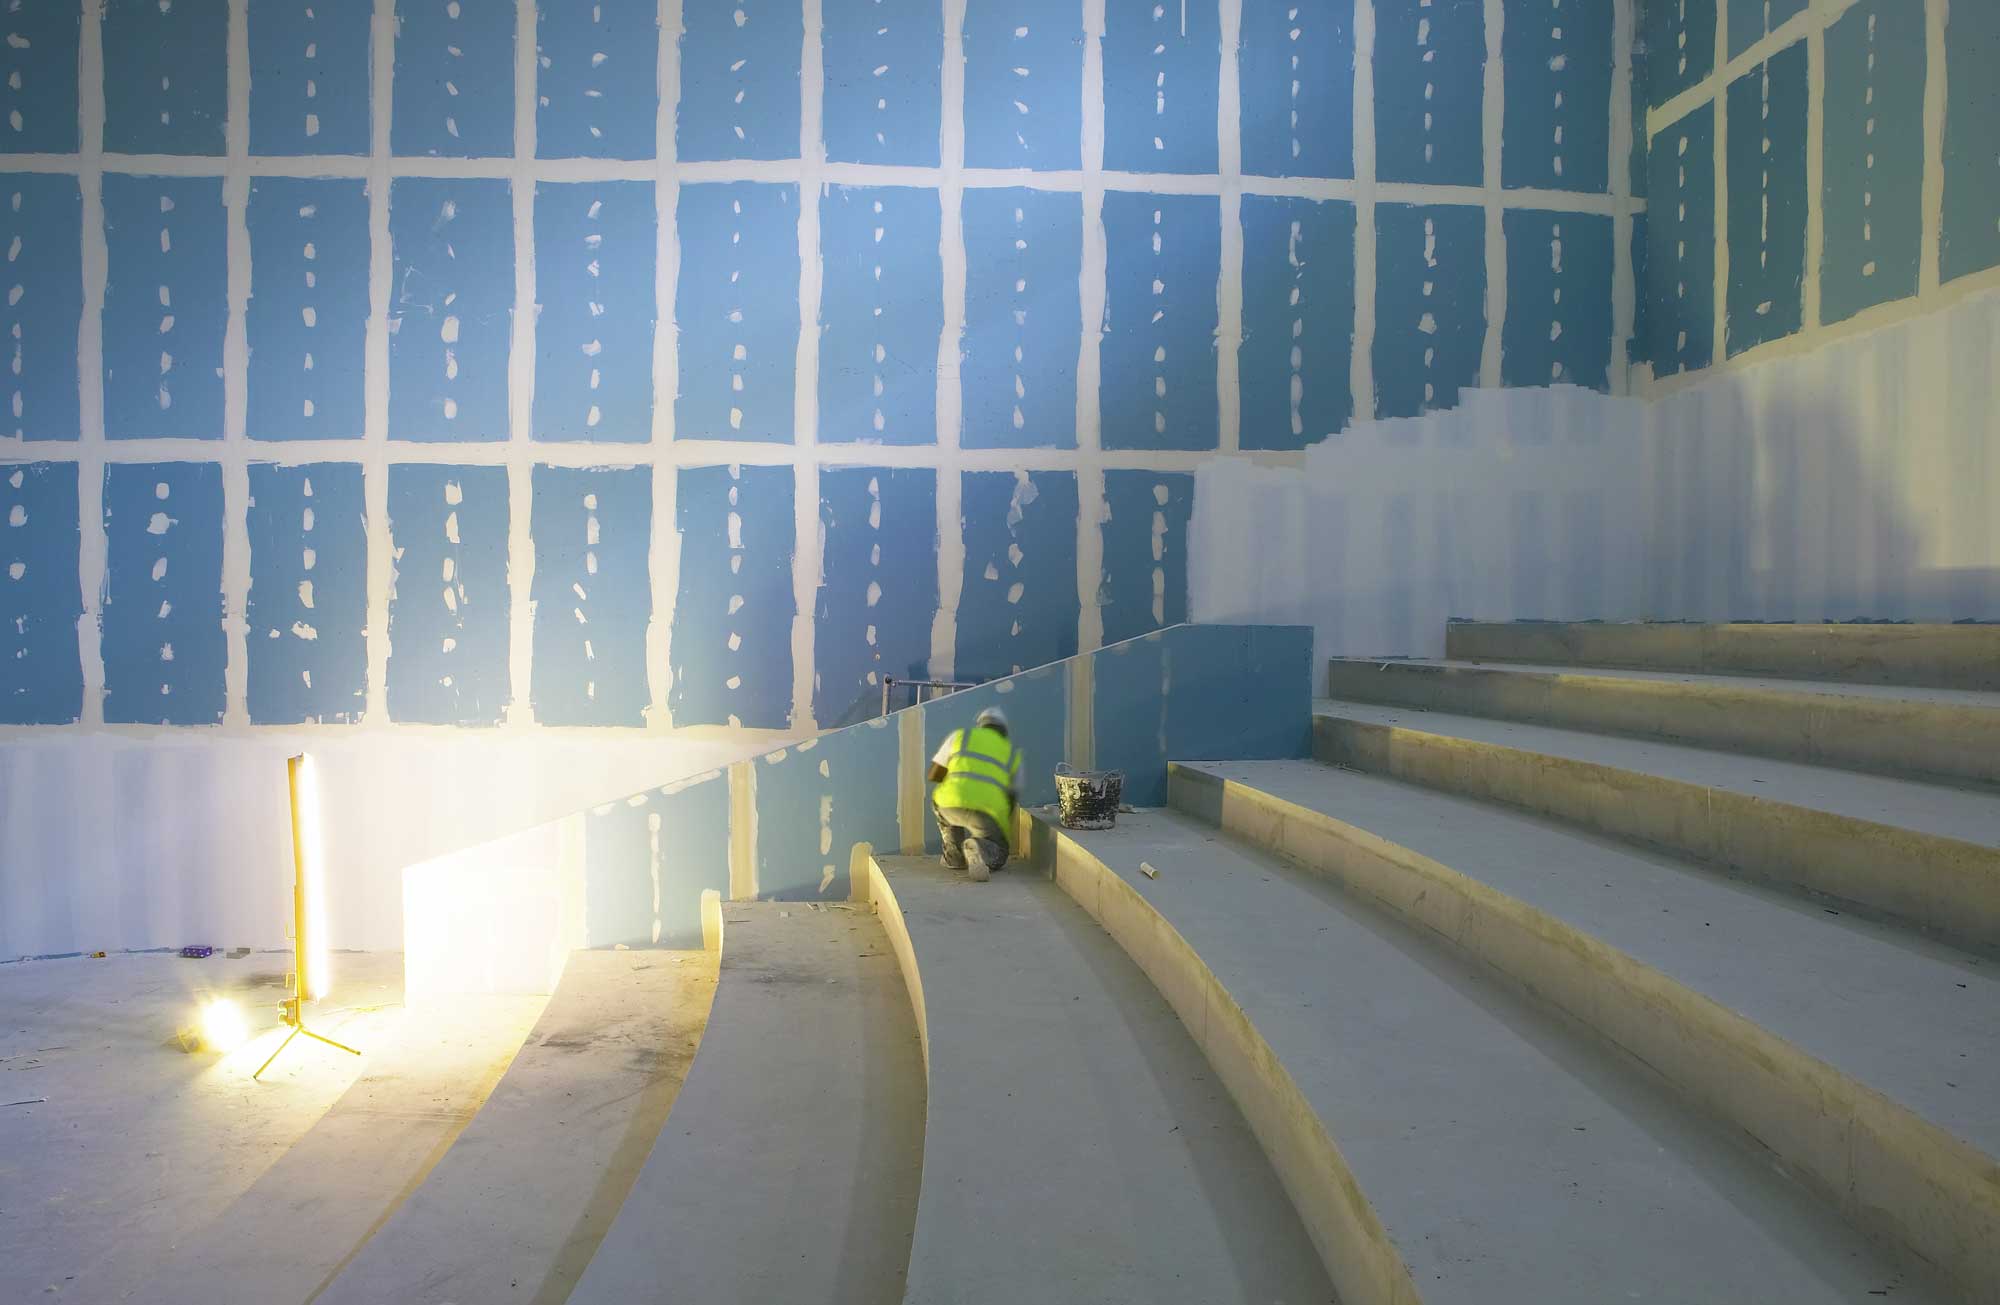
Construction Photography
See examples of construction photography by clicking here
Commercial Photography
See examples of commercial photography by clicking here
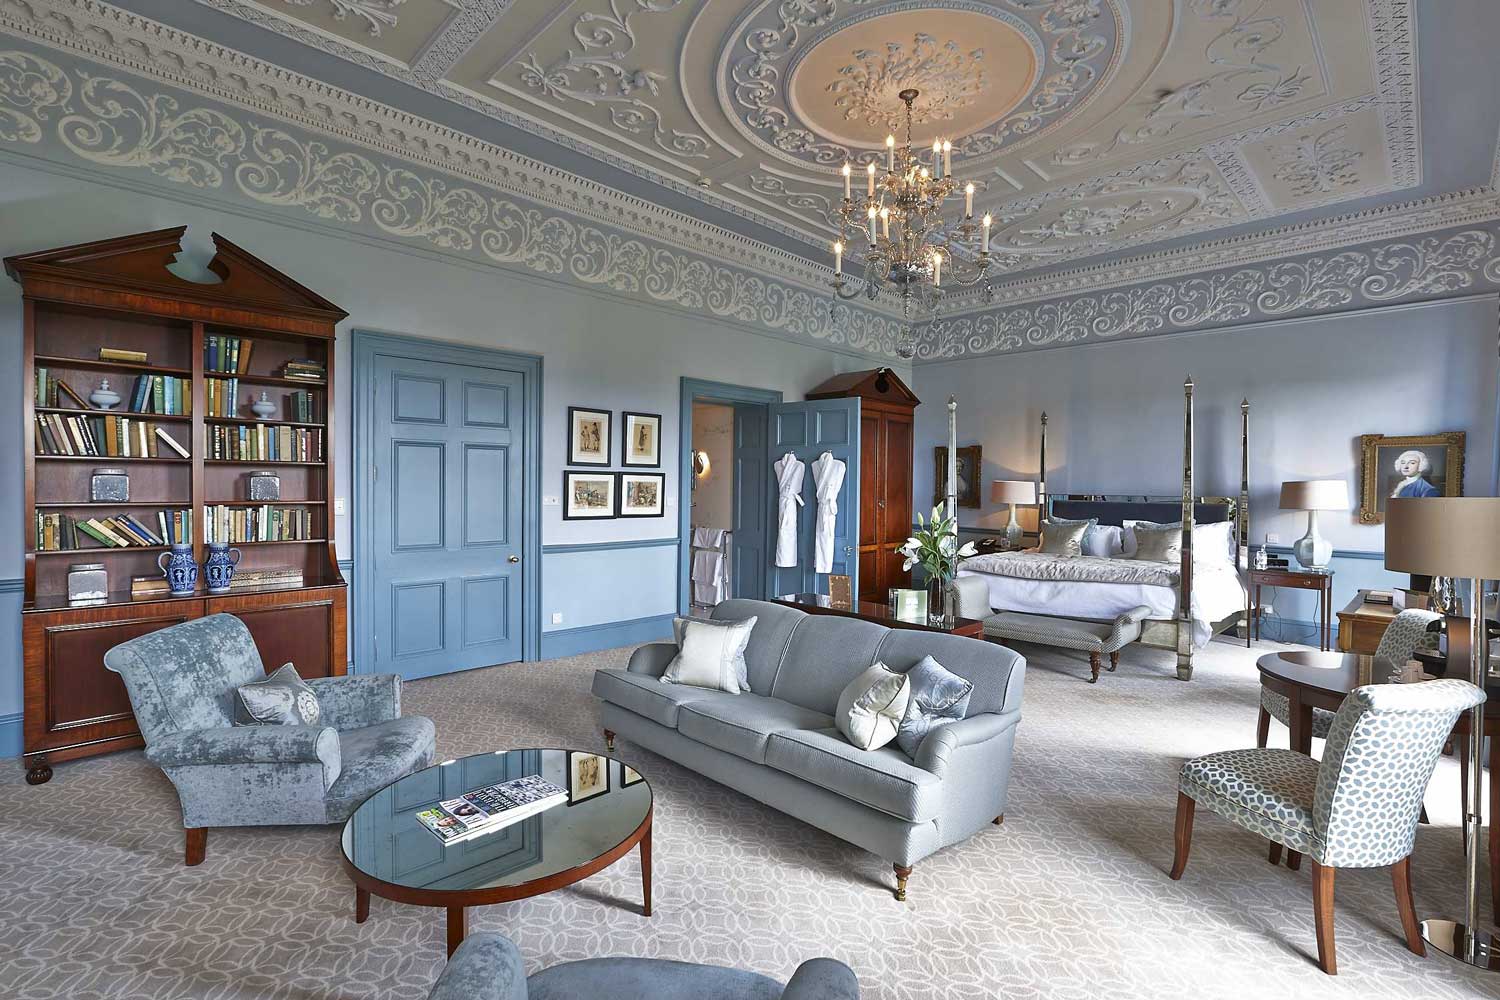
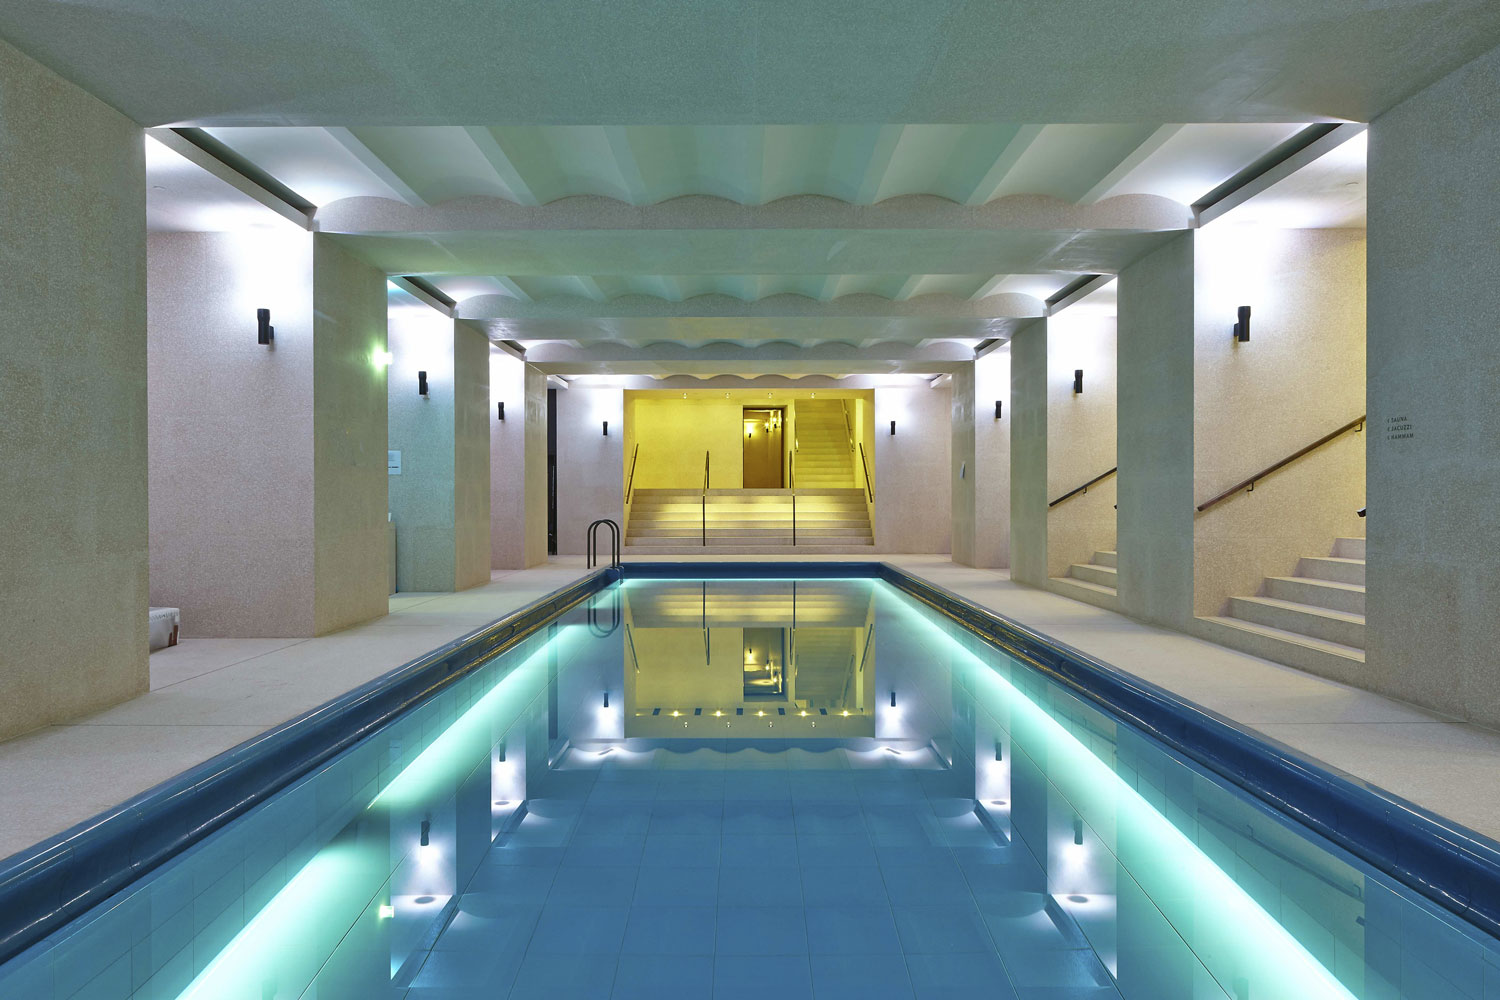
Hotel Photography
See examples of hotel photography by clicking here
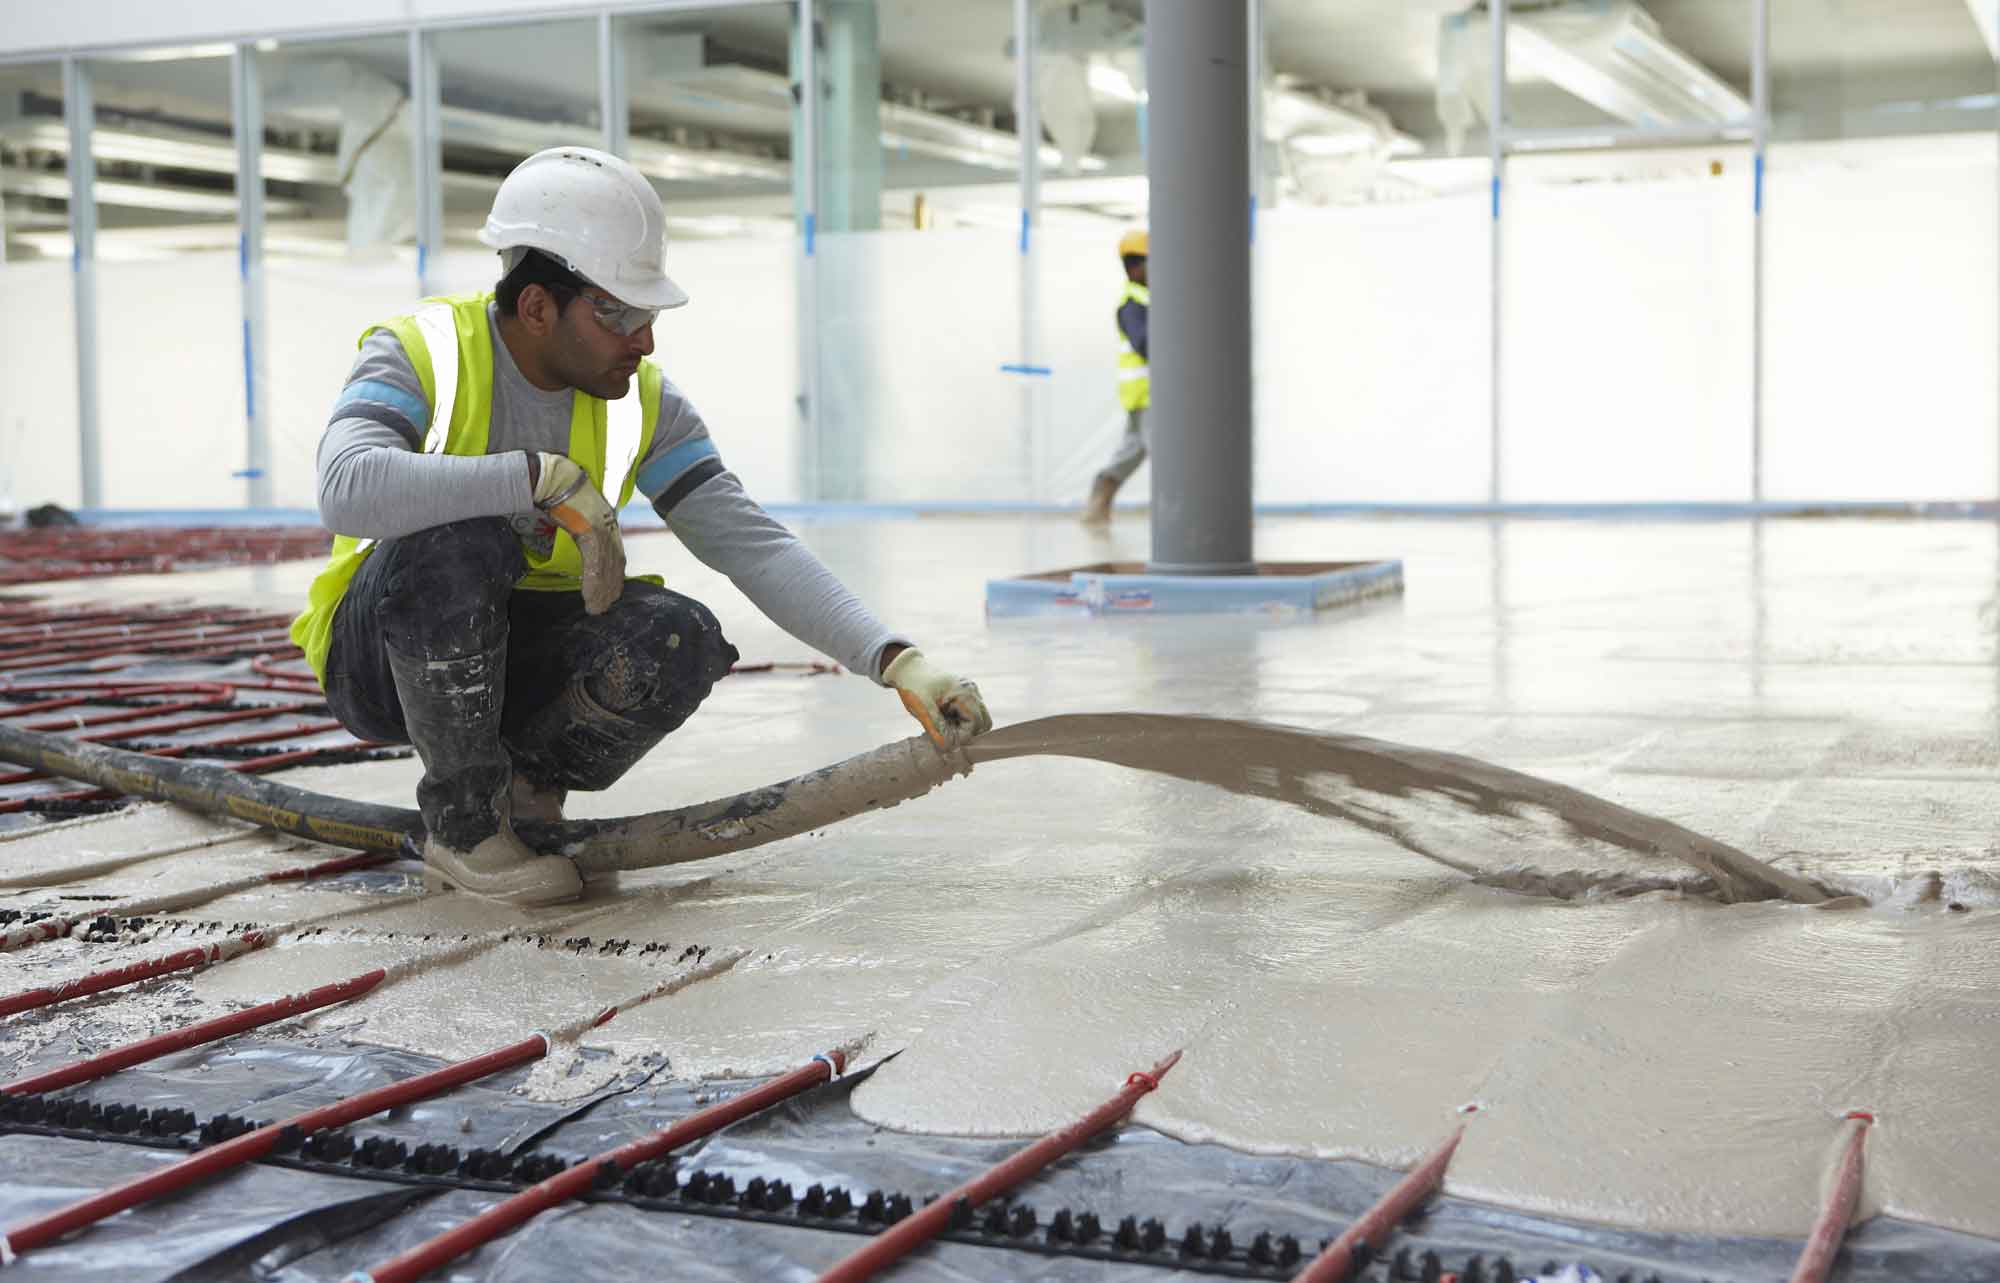
Installation Photography
See examples of construction installation photography by clicking here
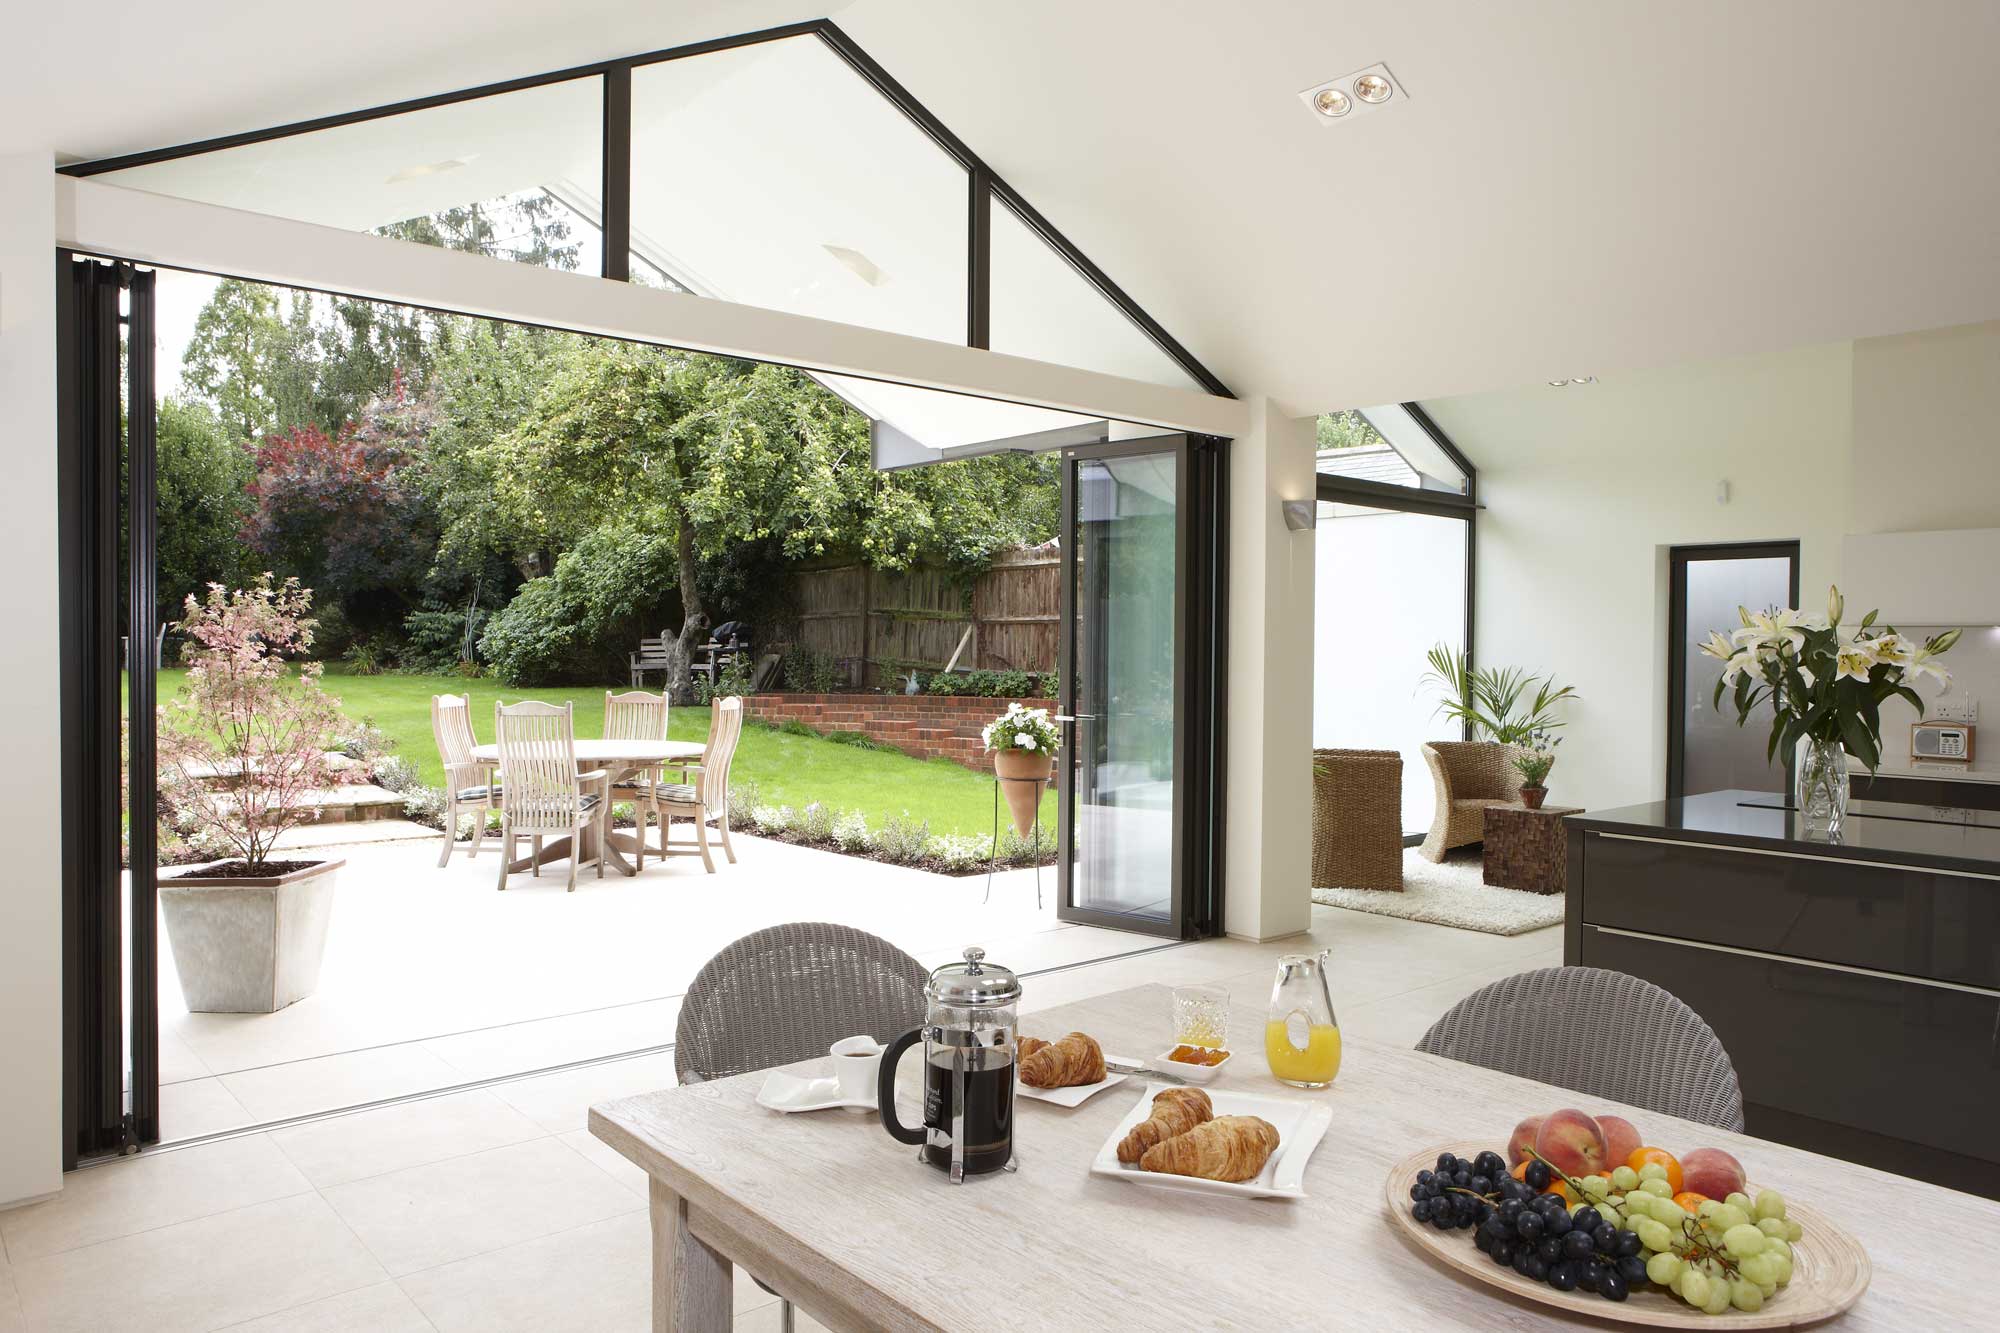
Residential Photography
See examples of residential photography by clicking here
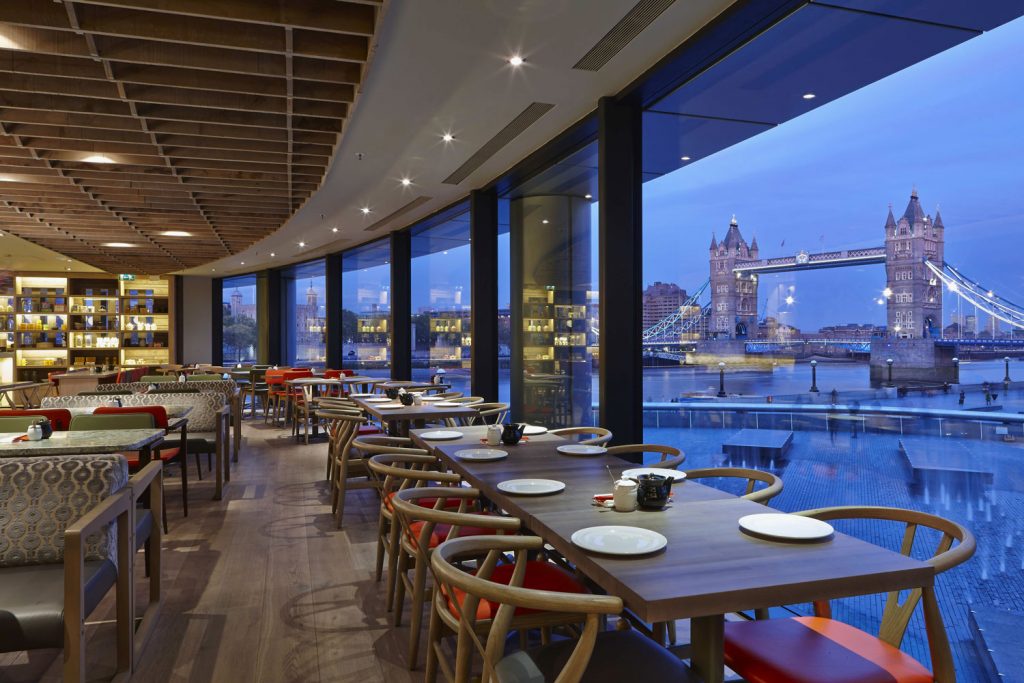
Restaurant Photography
See examples of restaurant photography here
Get In Touch
Please leave your name and email below along with what you are looking for in the message box. Or you can call us on 0118 989 3749 and 07910 168536
Follow